


DIY Balloon Party Decor: Techniques and Tips Explained for Perfect Celebrations
Are you ready to transform your next celebration into something truly magical without breaking the bank? I'm excited to share all my favorite tips and tricks for DIY balloon party decor! From elegant arches to whimsical garlands, mastering balloon decorations is easier than you think, and I'm here to guide you through every step. Let's make your next balloon party unforgettable with personalized touches.
Key Takeaways
- Choose the Right Materials: The success of your decor starts with selecting the right balloons and tools. Opt for high-quality latex or foil balloons in various sizes and a reliable electric pump to save time and effort.
- Master Basic Techniques: Learning how to properly inflate balloons to a consistent size, tie them securely, and create clusters are the fundamental skills for building any large-scale decoration like arches or garlands.
- Embrace Creativity in Design: Don't be afraid to mix different balloon sizes, colors, and textures. Combining standard latex balloons with chrome, confetti, or foil balloons, and adding elements like flowers or foliage can create stunning visual impact.
- Build Impressive Structures: With tools like decorating strips and glue dots, assembling balloon garlands and arches is a straightforward process. The key is to build a solid base and then layer smaller balloons to fill gaps and add dimension.
- Safety is Paramount: Always be mindful of safety, especially with children and pets. Uninflated or popped balloon pieces are a serious choking hazard and require constant supervision and proper disposal.
- Plan for Longevity: To ensure your decorations look fresh throughout your event, assemble them as close to the party time as possible and keep them away from direct sunlight and sharp objects.
Getting Started with Your Balloon Party Essentials
Diving into the world of DIY balloon decor begins with gathering the right supplies. Having the essentials on hand not only makes the process smoother but also ensures a professional-looking result. From the balloons themselves to the tools that bring your vision to life, let's break down everything you need to get started.
Choosing the Best Balloons for Your Theme and Budget
The foundation of any great balloon decoration is the balloons themselves. The choice you make will impact the look, durability, and overall success of your party setup. Let's explore the different types and what to consider.
Types of Balloons:
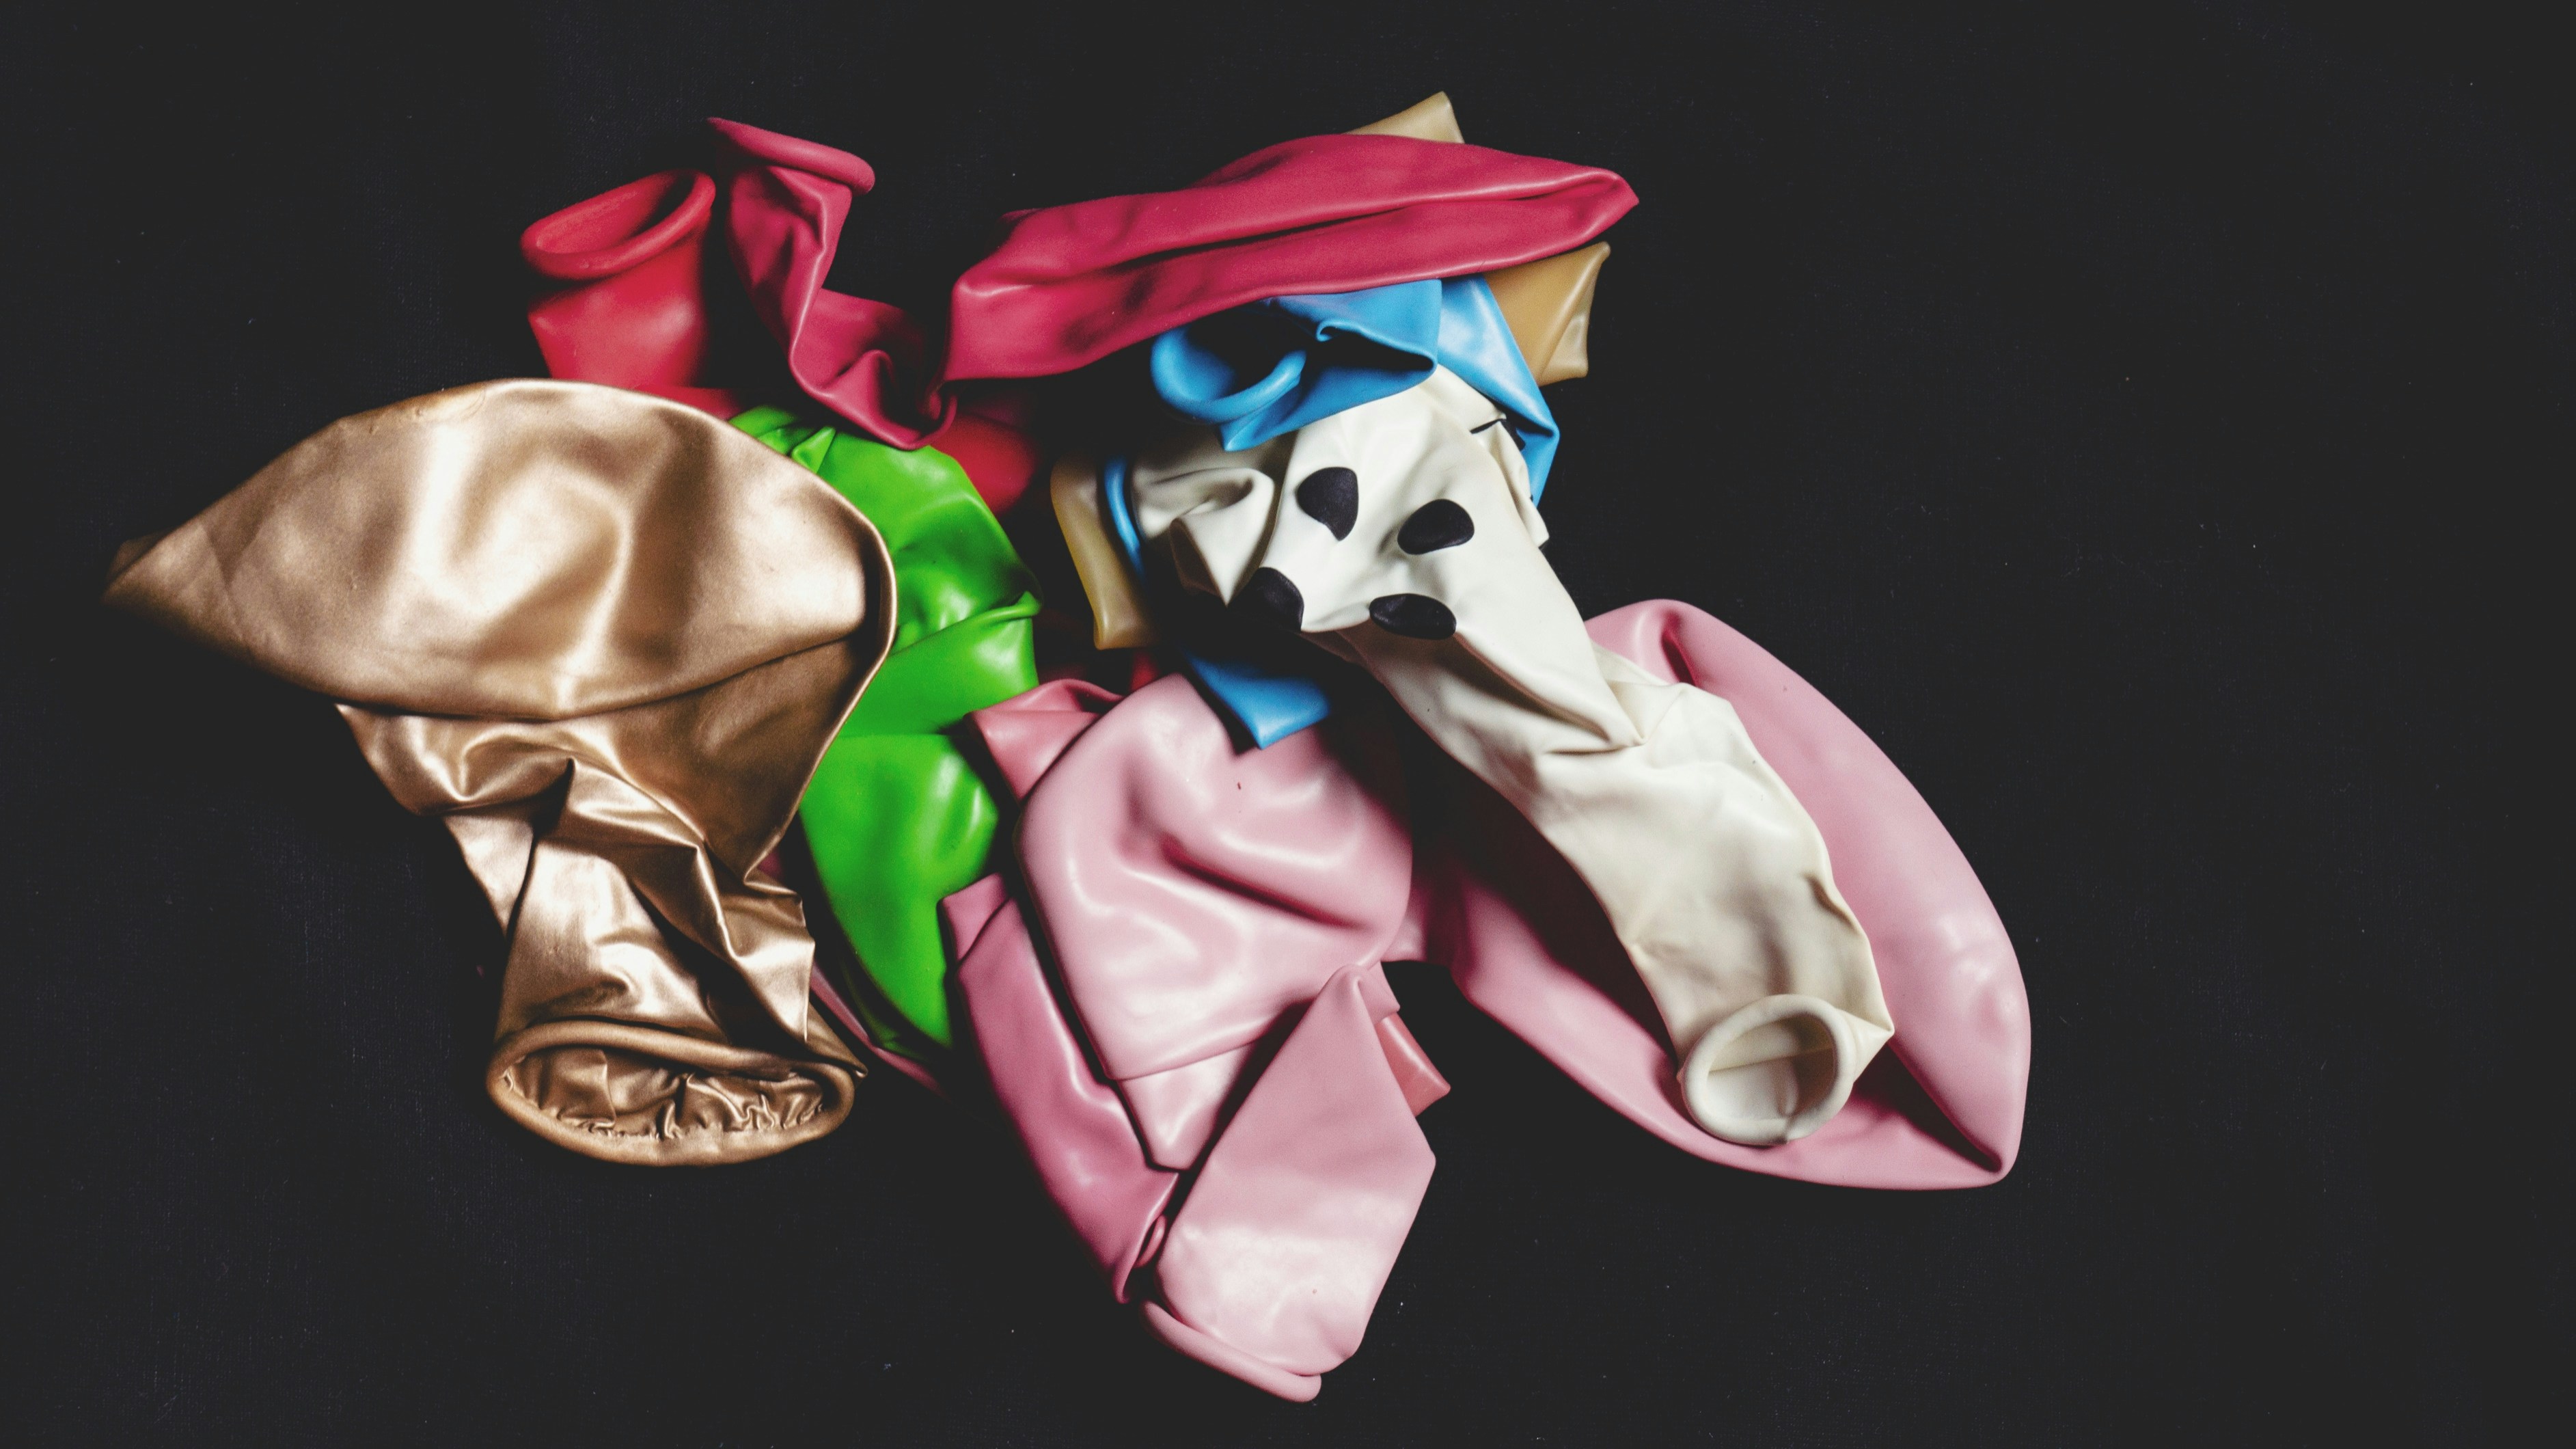
- Latex Balloons: These are the most common and budget-friendly option, made from natural rubber which makes them biodegradable. They are incredibly versatile, perfect for filling large spaces and creating structures like arches and garlands. Quality can vary, so it's worth investing in decorator-grade balloons which are thicker, more durable, and less likely to pop. Cheaper latex balloons might be thinner and have inconsistent color. Professional brands like Qualatex, Tuf-tex, and Sempertex are often recommended for their quality and color consistency.
- Foil (Mylar) Balloons: Made from a metalized nylon film, foil balloons offer a glossy, reflective finish and excellent helium retention, often lasting for days or even weeks. They come in a vast array of shapes, including numbers, letters, and popular characters, making them ideal as statement pieces or for personalizing your decor. While more expensive than latex, their durability and sharp look make them a worthy addition.
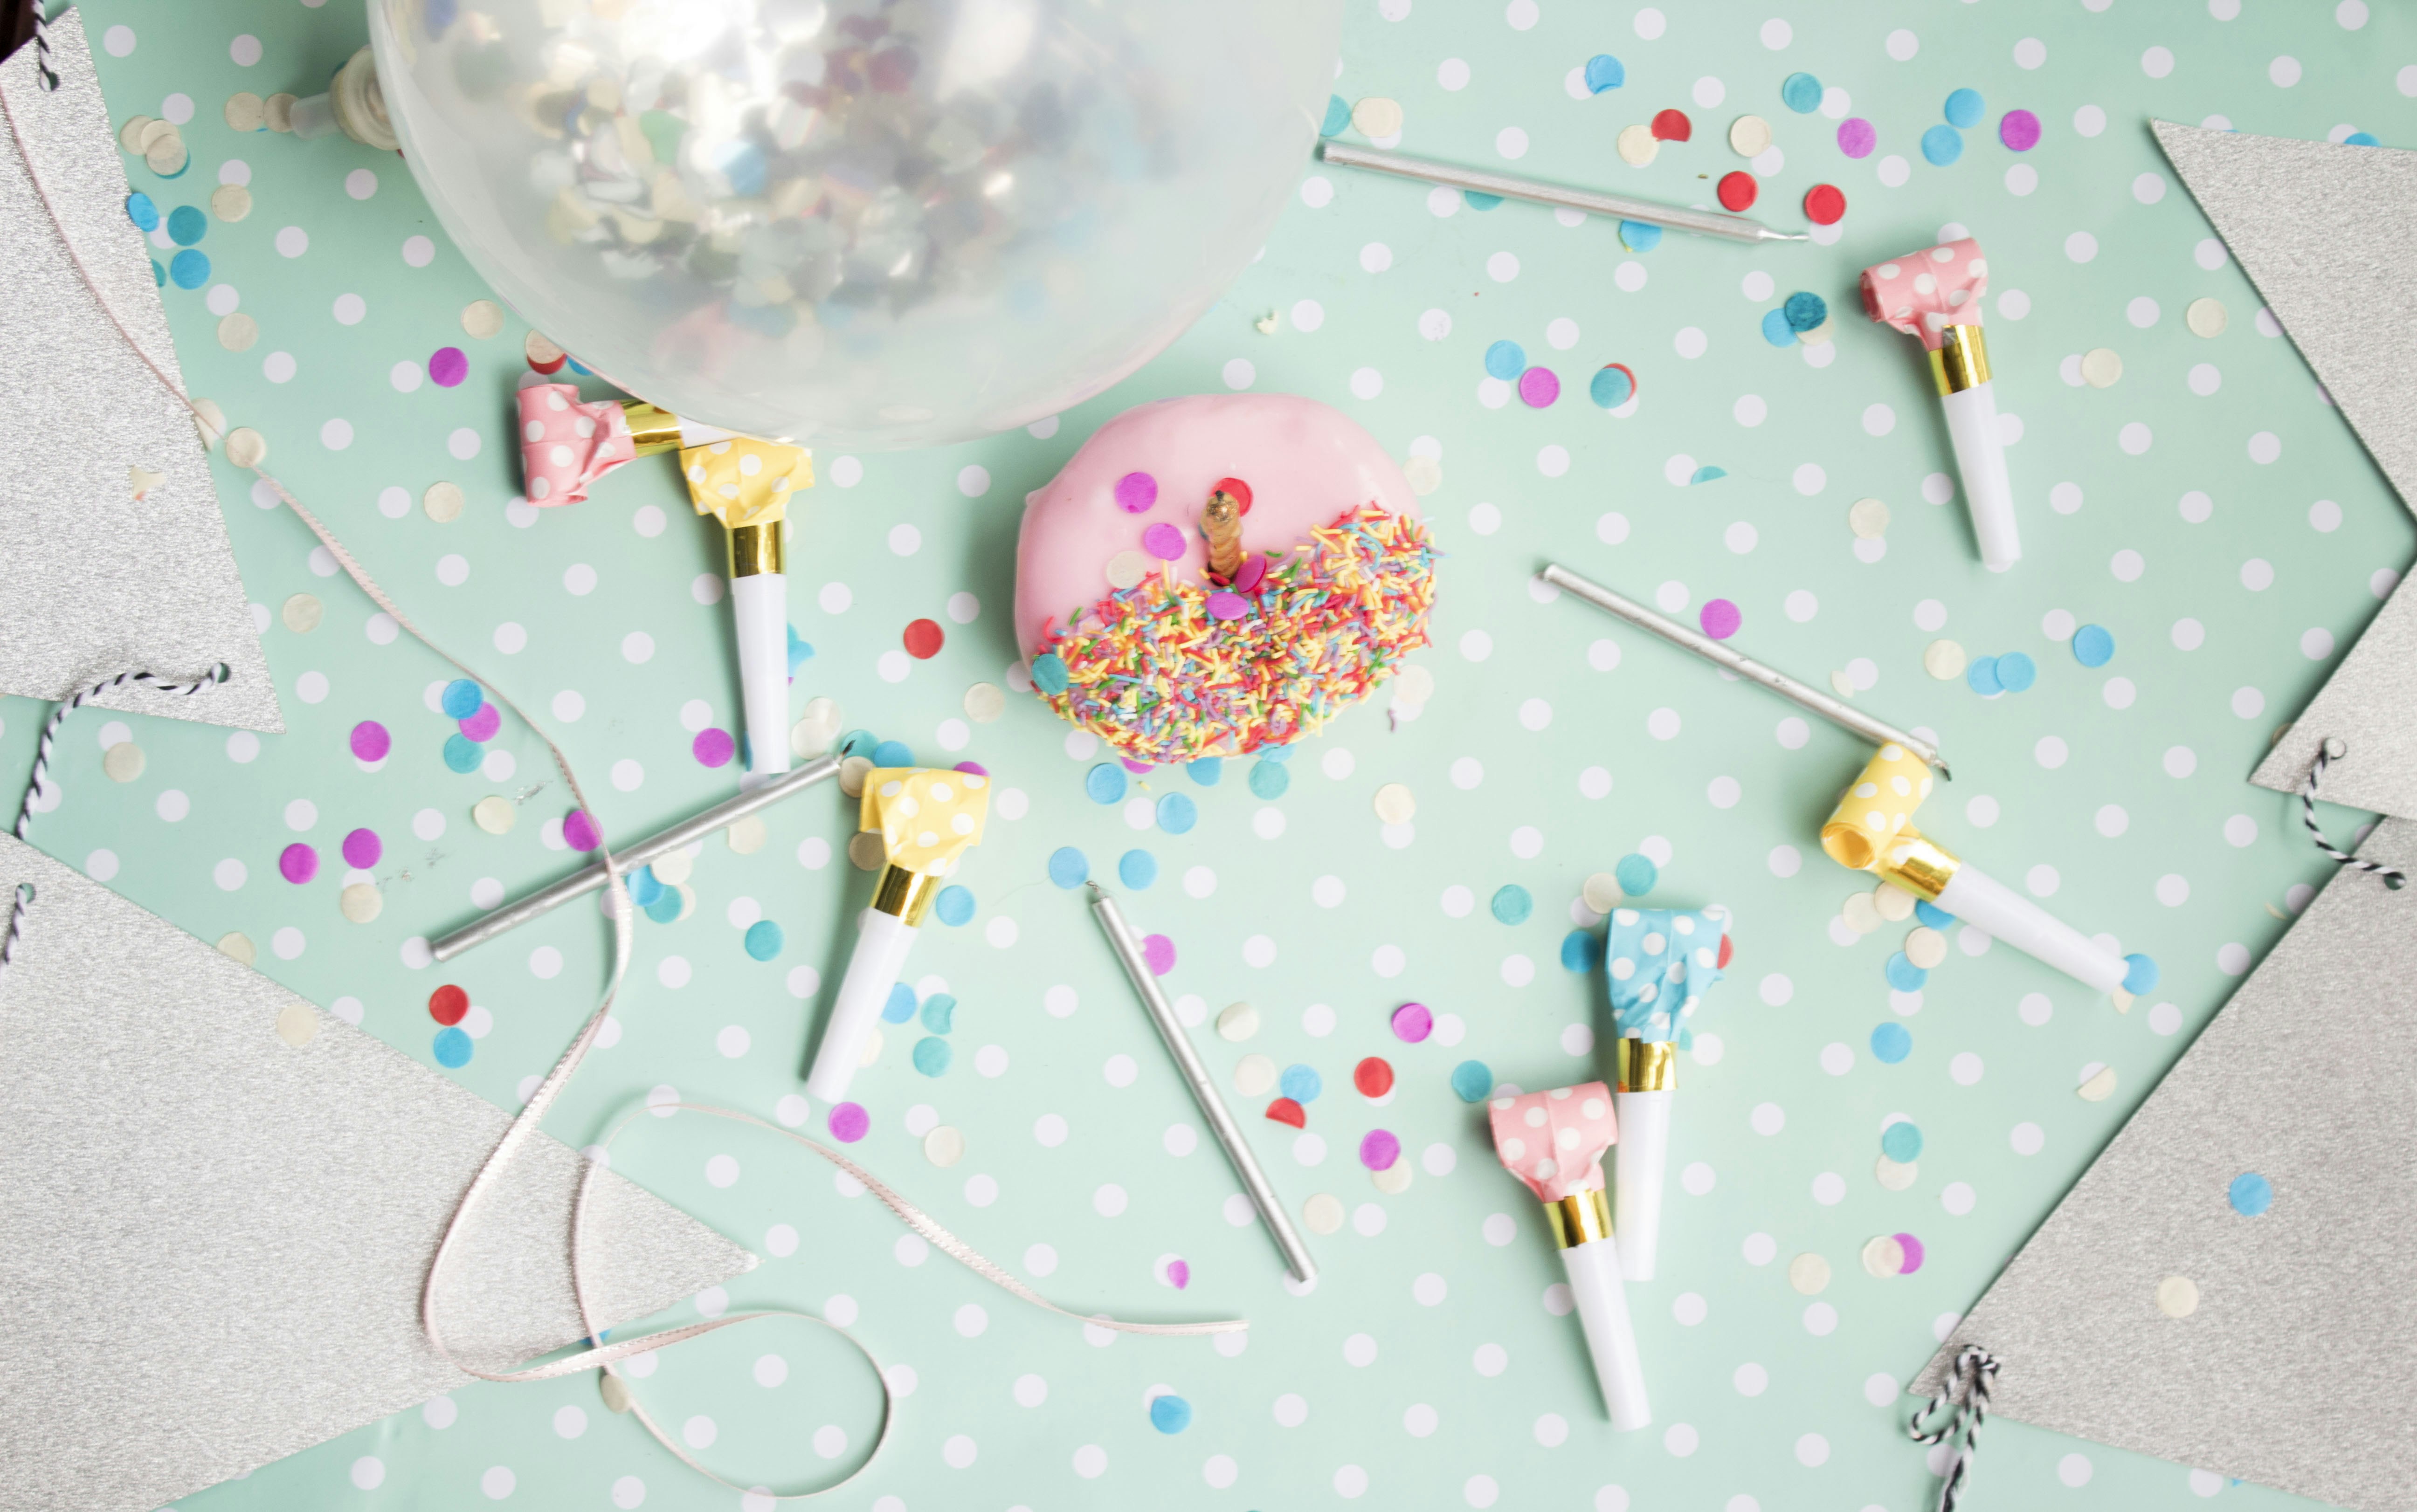
- Bubble Balloons: These are made from a stretchy, transparent plastic that allows them to become perfectly round, like a beach ball. They are very durable and can be filled with confetti, feathers, or even smaller balloons for a unique, high-end look.
- Chrome and Metallic Balloons: These are latex balloons with a special pigment that gives them a liquid-metal shine. They add a touch of glamour and sophistication to any arrangement.
Budget vs. Quality:
While it might be tempting to opt for cheaper balloon kits, especially from online retailers, professional decorators advise against it for significant projects. Lower-quality balloons are often thinner, have weak spots, pop easily, and may have an unpleasant chemical smell. Investing in decorator-grade balloons from reputable brands will save you time, reduce stress from unexpected popping, and result in a more professional and longer-lasting display. For a budget-friendly approach, consider using air-filled balloons for the bulk of your decor and reserving more expensive helium and foil balloons for key focal points.
Choosing Sizes and Colors:
To create visually interesting and dynamic decorations, it's crucial to use a variety of balloon sizes. Most garlands and arches use a mix of standard 11 or 12-inch balloons as the base, with larger 16 to 24-inch balloons to add volume and smaller 5-inch balloons to fill in gaps. Giant 36-inch balloons can serve as dramatic focal points. When selecting colors, consider your party's theme and desired mood. You can create a color palette with 3-4 complementary shades to achieve a cohesive and sophisticated look.
Essential Tools for Every DIY Balloon Party Enthusiast
Having the right tools is just as important as choosing the right balloons. These items will make the creation process faster, easier, and much more enjoyable. Many of these tools are included in all-in-one balloon garland kits, which can be a great starting point for beginners.
Here’s a table of essential and optional tools:
| Tool | Description & Purpose | Why It's Essential |
|---|---|---|
| Electric Balloon Pump | A machine that inflates balloons rapidly. Many models have dual nozzles to inflate two balloons at once, saving a tremendous amount of time. | Essential. Manually inflating dozens or hundreds of balloons is exhausting and time-consuming. An electric pump is a game-changer, especially for large projects like garlands and arches. It ensures you can get a lot of balloons ready quickly. |
| Balloon Decorating Strip | A flexible, transparent plastic tape with holes punched along its length. You simply pull the knot of an inflated balloon through a hole to build the main structure of a garland. | Essential. This strip is the "backbone" of your garland or arch. It eliminates the need for complicated tying with fishing line and allows for a sturdy yet flexible structure. |
| Glue Dots or Low-Temp Glue Gun | Rolls of double-sided adhesive dots used to stick balloons together. A low-temperature glue gun can also be used. | Essential. Glue dots are used to attach smaller balloons (like 5-inch ones) into the gaps of your main structure. This is how you achieve a full, professional, and "organic" look without sparse areas. |
| Balloon Tying Tool | A small plastic device that helps you tie balloon knots quickly and without hurting your fingers. | Highly Recommended. Tying a large number of balloons can be painful and slow. This simple tool wraps the balloon neck and pulls it through for a perfect knot every time, saving your fingers. |
| Fishing Line or Twine | Used for hanging the finished garland and can also be used as an alternative to a decorating strip to tie clusters of balloons together. | Recommended. Essential for securely hanging your creation from walls, ceilings, or backdrops. Clear fishing line is inconspicuous. |
| Wall Hooks | Adhesive hooks (like Command hooks) that can be applied to and removed from walls without causing damage. | Recommended. These provide secure anchor points for hanging your balloon garland. Using removable hooks protects your walls from nails or permanent fixtures. |
| Balloon Sizer | A box or cube with pre-cut holes of various diameters (e.g., 9-inch, 7-inch, 5-inch). You inflate a balloon and let out air until it just fits through the desired hole. | Optional (but great for perfectionists). A sizer ensures your balloons are uniform in size, which is key for creating symmetrical columns or a very polished, consistent look. |
Electric vs. Manual Pump: Which is Better?
For any project involving more than 15-20 balloons, an electric pump is the superior choice.
- Speed: An electric pump can inflate a balloon in seconds, whereas a manual pump is significantly slower and requires physical effort.
- Effort: Electric pumps save you from the strenuous, repetitive motion of hand-pumping, which can be tiring for large projects.
- Consistency: Some electric pumps offer features that help with consistent inflation, which is crucial for professional-looking decor.
A manual pump is a good, affordable option for very small projects, inflating just a few replacement balloons, or for use in locations without electricity. However, for creating garlands, arches, or any substantial decor, investing in an electric pump is well worth it.
Mastering Basic Inflation and Tying Techniques for Your Balloon Party
The fundamental skills of inflating and tying balloons correctly are what separate amateur-looking decor from a professional, polished display. Mastering these basics will ensure your creations are sturdy, uniform, and beautiful.
Achieving Consistent Inflation
For a cohesive look, especially in garlands and columns, balloons should be inflated to a consistent size.
- Using a Balloon Sizer: This is the most reliable method. A sizer is a box with pre-cut holes. You inflate the balloon larger than the hole and then let out air until it fits snugly through, ensuring every balloon is the exact same diameter.
- Without a Sizer (The "Eyeball" Method): If you don't have a sizer, you can create a DIY template. For example, place two chair backs a specific distance apart (e.g., 9 inches) and inflate your balloon so it just touches both. Another method is to inflate one "master" balloon to your desired size and use it as a visual reference for all the others. Hold your newly inflated balloon next to the master to compare and adjust.
- Aim for a Round Shape: When inflating, it's best to under-inflate slightly rather than over-inflate. This gives the balloon a more spherical, "bubbly" shape instead of an elongated pear shape. A rounder shape looks more professional and is less prone to popping. To achieve this, inflate the balloon and then press it against a flat surface or your body to soften it into a rounder form before tying.
Efficient and Pain-Free Tying
Tying dozens of balloons can quickly become painful. Here’s the standard technique:
- Inflate: Blow up the balloon to the desired size.
- Pinch and Stretch: Pinch the neck of the balloon firmly at the base to prevent air from escaping. Use your other hand to stretch the neck out by a few inches.
- Wrap: Wrap the stretched neck around your index and middle fingers.
- Tuck and Pull: Take the end of the neck (the beaded part) and tuck it under the wrapped portion, between your two fingers.
- Release: Pull your fingers out, allowing the knot to tighten. A balloon tying tool can automate this process and save your fingers.
Pro Technique: Double-Stuffing for Custom Colors
Have you ever wondered how designers achieve unique, muted, or custom balloon colors that you can't buy off the shelf? The secret is "double-stuffing," which is simply putting one balloon inside another before inflating.
- How it Works: The inner balloon's color mixes with the outer balloon's color to create a brand-new shade. For example, placing a black balloon inside a standard pink one will create a deeper, moodier mauve. Placing a white balloon inside any color will produce a lighter, more pastel version.
- The Method:
- Take the balloon that will be on the inside. Use a thin, sturdy stick (like a chopstick or a straw) to help you push it inside the outer balloon.
- Roll the inner balloon around the stick and gently feed it into the opening of the outer balloon until it's completely inside.
- Inflate the balloons together using a pump. You only need to tie the neck of the inner balloon, as it will hold the air for both.
This technique is a fantastic way to perfectly match a specific color theme and elevate your decor with a truly custom palette.
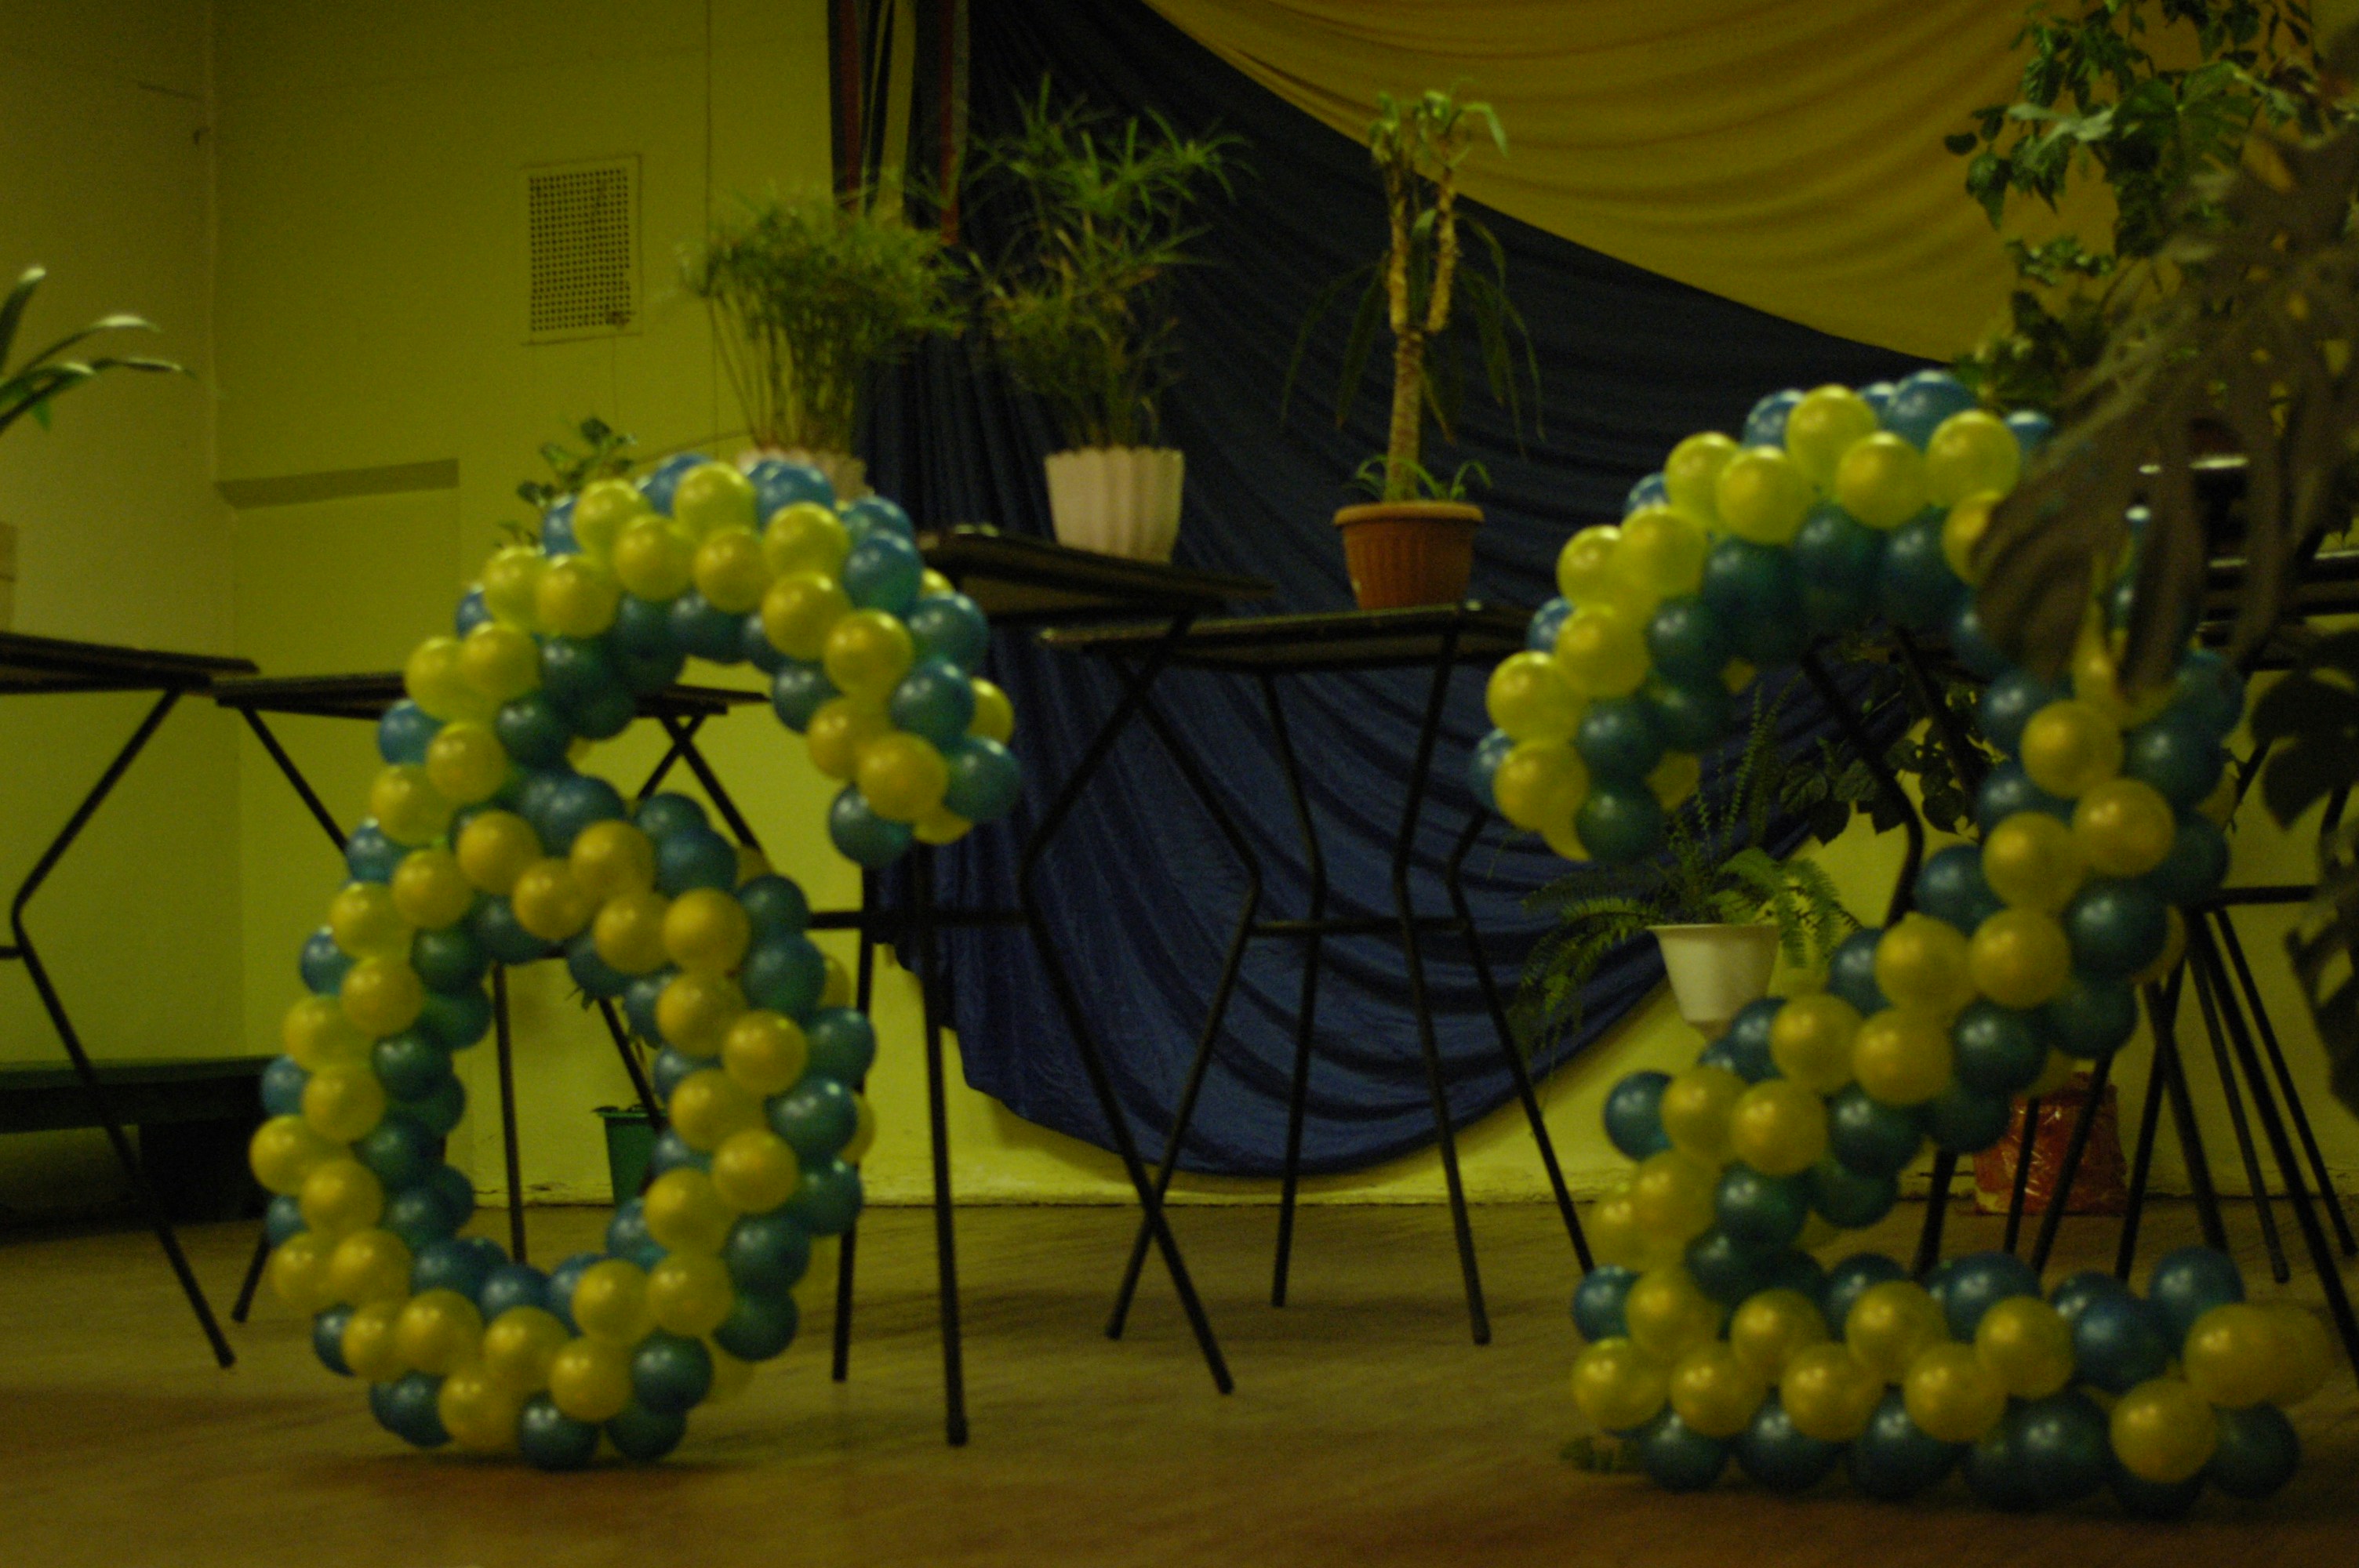
Crafting Stunning Balloon Party Arches and Garlands
Balloon arches and garlands are the showstoppers of party decor. They create a dramatic focal point, a perfect photo backdrop, or an enchanting entrance. While they look complex, creating them is a manageable and fun DIY project once you know the steps.
Step-by-Step Guide to Building a Perfect Balloon Arch
A balloon arch can be created with or without a dedicated frame. The most popular DIY method uses a flexible balloon decorating strip, which doesn't require a rigid structure and can be shaped organically.
Here’s how to create an arch using a decorating strip:
Step 1: Inflate Your Base Balloons Using your electric pump, inflate your medium-sized balloons (e.g., 11-inch and 17-inch). Don't inflate them to their maximum capacity; aim for a slightly under-inflated, round shape to prevent popping and create a more professional look. Inflate a variety of sizes to give your arch dimension.
Step 2: Attach Balloons to the Decorating Strip Leave about a foot of the decorating strip empty at the beginning. Take your first inflated balloon and push its knotted end through one of the holes on the strip. To secure it, slide the knot into the smaller, adjoining hole. There's no need to pull the entire knot through. Add the next balloon, inserting it from the opposite side to create a zigzag pattern. Continue this process, alternating balloon sizes and colors, until you have a garland of your desired length. Don't worry about making it look perfect at this stage; the goal is to build the main structure.
Step 3: Shape and Hang the Arch Once your main balloons are attached, it's time to hang your garland. It's often easier to hang the garland before adding the smaller filler balloons. Use adhesive hooks (like Command hooks) to create anchor points on the wall or backdrop where you want your arch to be. Secure the decorating strip to these hooks, using the empty holes at the ends and in the middle of the strip. Shape the strip into your desired arch curve as you hang it.
Step 4: Fill in the Gaps with Small Balloons Now for the magic touch. Inflate your smallest balloons (e.g., 5-inch). Using glue dots, stick these small balloons into the gaps and crevices of your main arch. This step is what transforms a basic string of balloons into a lush, full, and organic-looking arch. Attach the glue dot to the small balloon first, then press it firmly onto a larger balloon in the arch. You can also create small clusters of 2-4 mini balloons and attach them as a single unit.
Step 5: Add Final Embellishments If desired, you can now add extra elements like foil balloons, flowers, or greenery. Tuck the stems of flowers or foliage securely between balloons. Use fishing line or glue dots to attach Mylar balloons.
Pro-Tip for Freestanding Arches (No Wall): If you want to create a freestanding arch without attaching it to a wall, you'll need to add weights. A simple and effective method is to create water weights by filling a couple of 12-inch balloons with water and tying them securely. Attach one water-filled balloon to each end of your arch using the excess decorating strip or fishing line. This will anchor the arch and allow it to stand on its own.
Designing Beautiful Balloon Garlands for Any Event
A balloon garland is a flexible, flowing arrangement of balloons that can be draped over tables, wound around staircases, or hung on a wall. Unlike a structured arch, a garland is typically more "organic," meaning it uses a variety of balloon sizes to create a natural, textured look. This style is modern, highly customizable, and perfect for nearly any celebration.
Structured vs. Organic Garlands
- Structured Garland: This style uses balloons of a uniform size to create a neat, patterned look (e.g., a perfect spiral of alternating colors). It has a classic, traditional feel and is often used for formal events or to create precise shapes like columns.
- Organic Garland: This is the most popular modern style. It involves combining balloons of many different sizes (from 5-inch to 36-inch) to create a design that looks dynamic and natural. The varied sizes add depth and a luxurious, custom feel to the decoration. This is the style most DIY kits are designed to create.
Planning Your Design
Before you start inflating, take a moment to plan your design.
Choose Your Color Palette: This is the most crucial step for setting the mood.
- Monochromatic: Use different shades of a single color (e.g., light pink, rose, and magenta) for a sophisticated and cohesive look.
- Analogous: Choose colors that are next to each other on the color wheel (e.g., red, orange, yellow) for a harmonious, gradient effect.
- Complementary: Pick colors that are opposite each other on the color wheel (e.g., blue and orange) for a bold, high-contrast look.
- Trendy Palettes: Current trends often favor earthy, boho-chic palettes (like terracotta, sage green, and beige) or soft pastels for baby showers.
Sketch Your Shape: Think about where the garland will be placed. Will it be a full arch over a doorway? A "demi-arch" or partial garland framing one corner of a backdrop? Or will it cascade down a staircase? A simple sketch can help you visualize the flow and determine the length you need.
Example Color Palettes for Popular Events:
| Event | Color Palette Suggestion | Vibe |
|---|---|---|
| Baby Shower (Girl) | Rose gold, blush pink, white, and a hint of soft gray. | Elegant and Sweet |
| Baby Shower (Boy) | Shades of blue (sky blue, royal blue), white, and silver or gold chrome. | Classic and Cheerful |
| Baby Shower (Neutral) | Sage green, eucalyptus, white sand, and touches of gold. | Boho and Earthy |
| Birthday Party | Bright rainbow colors (red, yellow, blue, green) or themed colors (e.g., mermaid teals and purples). | Fun and Celebratory |
| Bridal Shower/Wedding | All white, or a mix of ivory, champagne, and metallic gold. | Romantic and Sophisticated |
| Holiday Party | Red, green, white, and metallic gold for Christmas; or black, orange, and purple for Halloween. | Festive and Themed |
Remember, the beauty of a DIY garland is its flexibility. You can customize the length, shape, and color to perfectly match your unique event space and theme.
Incorporating Different Sizes, Colors, and Textures for Visual Impact in Your Balloon Party Decor
A truly spectacular balloon decoration is all about dimension and contrast. Moving beyond a simple string of same-sized balloons is the key to creating a design that looks lush, professional, and visually captivating.
The Power of Varying Sizes
Using a mix of balloon sizes is the most effective way to create depth and an "organic" feel. A flat design with only one balloon size can look dated, while a multi-size arrangement feels modern and luxurious.
- Build the Base (11-inch & 17-inch): These larger balloons form the main body of your garland. They fill space quickly and create the overall shape.
- Add Volume (18-inch to 36-inch): Strategically placing a few jumbo balloons can instantly make your garland look fuller and more dramatic. These work well as anchor points or to create a "bubbly" dimension. Don't overdo it; just a few can make a huge impact.
- Fill the Gaps (5-inch): The secret to a high-end look is using 5-inch mini balloons to fill in any holes or sparse areas. Attach these with glue dots after your main structure is built. They cover up the mechanics (like knots and strips) and add a final layer of texture.
Creating Texture with Different Balloon Types
Don't limit yourself to standard latex balloons. Mixing in different finishes and materials adds another layer of visual interest.
- Chrome and Metallic: The high shine of chrome or metallic balloons provides a striking contrast to the matte or satin finish of standard latex.
- Confetti Balloons: Clear balloons filled with confetti can add a playful sparkle. When inflating these, rubbing the outside of the balloon can create static electricity that helps the confetti stick to the inner walls for a better effect.
- Foil Balloons: Incorporate foil balloons in shapes like stars, hearts, or letters to tie into your theme. Their crisp edges and metallic sheen stand out beautifully against the soft curves of latex balloons.
Adding Non-Balloon Elements
To elevate your design even further, consider weaving in other decorative elements. This technique adds sophisticated texture and can help tie your balloon decor into the rest of your party's theme.
- Fresh or Faux Flowers: Adding flowers is a beautiful way to soften a balloon garland and give it a romantic, garden-party feel. Trim the stems to a few inches and carefully tuck them into tight balloon clusters. For added security, you can use floral wire to gently attach them.
- Greenery: Stems of eucalyptus, palm leaves, or ivy can be woven throughout the garland for a lush, botanical look. This is especially effective for wedding, bridal, and baby shower themes.
- Tassels and Ribbons: Foil tassels or flowing ribbons can be tied into the garland to add movement and an extra pop of shine.
By combining these elements, you move from simply putting balloons together to true design, creating a multi-dimensional piece of art that will be the centerpiece of your celebration.

Creative Balloon Party Decor Ideas Beyond the Basics
Once you've mastered garlands and arches, a whole world of creative balloon decorations opens up. From stately columns to personalized centerpieces, you can use your new skills to add flair to every corner of your celebration.
How to Make Eye-Catching Balloon Columns and Unique Centerpieces
Beyond garlands that drape and flow, you can use balloons to build structured and freestanding decorations like columns and table centerpieces. These elements are perfect for framing an entryway, decorating a stage, or adding a festive touch to guest tables.
Building a Sturdy Balloon Column (No Stand Required)
While professional columns often use a metal pole for structure, you can easily create a stable, freestanding column with just balloons, a weight, and some string or ribbon.
- Create Your "Quads": A column is built from clusters of four balloons, known as "quads." Start by inflating your balloons to a uniform size (e.g., all 9 inches). A balloon sizer is very helpful here for consistency. Tie the balloons into pairs. Then, take two pairs and twist them together at the center to form a quad. Create as many quads as you need for your desired column height.
- Prepare the Base: To keep the column from tipping over, you need a weight. A simple and effective weight can be made by filling a balloon with water or sand. Tie a long piece of curling ribbon or fishing line securely to this weight.
- Stack the Quads: Place your first quad flat on the floor. Nestle the balloon weight underneath it, pulling the ribbon up through the center. Wrap the ribbon in a figure-eight pattern around the balloons in the quad to secure it.
- Build Upwards: Place the next quad on top of the first, rotating it 45 degrees so the balloons nestle into the gaps of the layer below. Pull the ribbon up through the center of the new quad and wrap it around opposing balloons to lock the layer in place, pulling snugly to keep the structure tight.
- Continue Stacking: Repeat this process, adding quads and wrapping the ribbon, until your column reaches the desired height.
- Add a Topper: Finish your column with a large feature balloon. This could be a 24-inch or 36-inch round latex balloon or a large themed foil balloon. Inflate the topper and tie it securely to the top quad of the column.
Creative Ideas for Unique Table Centerpieces
Balloon centerpieces can be a cost-effective way to make a big impact on your tables. The key is to ensure they are either low enough or high enough to not obstruct guests' views across the table.
Simple Cluster Centerpiece:
- Create a base of two small quads (e.g., 5-inch balloons) stacked on top of each other and secured with a small water weight at the bottom.
- Top the base with a single, elegant balloon. This could be a clear balloon with confetti, a chrome balloon, or a printed balloon that matches your theme.
- For a wedding or elegant event, you can wrap a single white balloon in tulle and tie it at the base with a ribbon for a soft, delicate look.
Hot Air Balloon Centerpiece:
- Use a small decorative basket or box as the base.
- Inflate a large helium-filled balloon (18 to 24 inches) and attach it to the basket with four ribbons to create the "ropes" of the hot air balloon.
- You can fill the basket with small treats, flowers, or other favors.
Tall and Slim Centerpiece:
- For a dramatic effect that doesn't block sightlines, create a tall centerpiece. Use a balloon stand kit, which typically includes a base, clear sticks, and balloon cups.
- Secure a small arrangement of balloon clusters to the base.
- Attach a tall, clear stick and top it with a beautiful foil or latex balloon that floats well above eye level. You can wrap the stick with ribbon or a 260Q (twisting) balloon to hide the plastic.
These ideas are just the beginning. By combining basic balloon techniques with other craft supplies like flowers, ribbons, and baskets, you can create endless centerpiece designs to perfectly suit your celebration.
Adding Personal Touches with Custom Balloon Arrangements for Your Party
Once you're comfortable with the basics, you can start treating balloons like a true artistic medium. Personalizing your arrangements is what makes your party decor unique and memorable. These custom touches can be surprisingly simple to execute but have a major impact.
Creating Custom Messages with Vinyl Lettering
Adding names, dates, or celebratory phrases (like "Oh Baby!" or "Happy Birthday") to balloons creates a bespoke focal point.
- What You'll Need: Large foil or latex balloons (18-inch or larger work best), and pre-cut vinyl decals or a cutting machine (like a Cricut or Silhouette) to make your own.
- How to Apply:
- Inflate your balloon. For a smooth application surface, it's best to use a high-quality balloon that is perfectly round and firm.
- If making your own decal, choose a font and size that fits the balloon. Simple, bold fonts are often easier to work with than very thin, script-like ones.
- Carefully weed your vinyl decal (remove the negative space) and apply transfer tape over the top.
- Peel the backing off the vinyl, position the decal on the balloon, and use a scraper tool or credit card to smooth it down firmly, removing any air bubbles.
- Slowly peel back the transfer tape, leaving the vinyl adhered to the balloon. For a professional finish, you can use acrylic paint markers for hand-lettering directly onto balloons, but this requires a steady hand and some practice.
Designing Themed Shapes and Mosaics
For a true "wow" factor, you can create large-scale numbers or letters filled with balloons.
- Using a Mosaic Frame: You can buy or make mosaic frames from foam core board. These are essentially large, hollowed-out letter or number shapes.
- The Process:
- Assemble or cut out your foam core number or letter. The walls should be several inches deep.
- Fill the inside of the frame with air-filled balloons of various sizes (mostly 5-inch balloons work best for this).
- Use a low-temperature glue gun or glue dots to secure the balloons to each other and to the inside of the frame, ensuring there are no gaps. This creates a stunning, textured statement piece perfect for milestone birthdays or anniversaries.
Adding Decorative Tails and Tassels
A simple way to dress up a large, single balloon or a bouquet is to add a decorative tail.
Making Tissue Paper Tassels:
- Layer several sheets of tissue paper.
- Fold the stack in half, then fold it in half again.
- Cut thin strips from the open end towards the folded end, leaving about 2 inches uncut at the top.
- Unfold the paper, and then roll it up tightly.
- Twist the center to create a loop, and then attach the tassel to a long ribbon or string.
- Create multiple tassels in different colors and tie them at varying heights along the balloon's string for a festive, trailing effect.
Quick Alternatives: You can also use pre-made metallic foil curtains, cutting them into sections to create shimmery tails, or simply tie a variety of colorful ribbons to the balloon's base.
By blending these personalization techniques, you can ensure your balloon decor is not just a collection of decorations, but a central part of your party's story.

Exploring Themed Balloon Party Decor for Special Occasions and Holidays
One of the most exciting aspects of DIY balloon decor is adapting your skills to fit specific party themes. By carefully selecting colors, shapes, and accessories, you can transport your guests to a wild jungle, an underwater kingdom, or a festive winter wonderland.
Jungle or Safari Theme
This is a wildly popular theme for children's birthdays and baby showers.
- Color Palette: Focus on earthy and natural tones. Think various shades of green (sage, olive, emerald), complemented by brown, beige, and gold chrome accents for a touch of glam.
- Key Elements:
- Incorporate animal print balloons (like zebra or leopard spots).
- Add large foil balloons shaped like safari animals (lions, giraffes, monkeys, elephants).
- Weave faux tropical leaves and palm fronds throughout your balloon garland to enhance the jungle feel.
Mermaid or Under the Sea Theme
Create a magical underwater world with a dreamy and iridescent color scheme.
- Color Palette: Use a base of pastel purple, pastel pink, and aqua or seafoam green. Add silver or iridescent chrome balloons to mimic the shimmer of mermaid tails and bubbles. The double-stuffing technique is particularly effective here to create unique pastel shades. For instance, putting a chrome silver balloon inside a pastel green one can create a beautiful, muted shimmer.
- Key Elements:
- Add large foil balloons shaped like mermaid tails, seashells, and starfish.
- Incorporate iridescent tassels or clear bubble balloons to represent water and bubbles.
- Weave in clusters of small pearl-white balloons to look like strings of pearls.
Holiday Themes
Balloons are a fantastic way to make holiday decorations feel grand and festive.
- Halloween: Go beyond the standard orange and black. Create a "spooky-glam" look with a color palette of black, burgundy, and silver chrome. Add fun elements like foil balloons shaped like ghosts, bats, or spiders. You can also drape fake spiderwebs over sections of the garland for a creepy-crawly texture. For a more kid-friendly look, try non-traditional colors like pastel pink, lavender, and mint green with cute ghost accents.
- Christmas: Design a classic Christmas arch using red, green, and white balloons, with gold or silver chrome balloons for sparkle. To create a more rustic or modern look, try a palette of forest green, white, and champagne gold. You can elevate this by tucking in pine cones, faux berry stems, or even battery-operated fairy lights to make your garland glow. Foil balloons shaped like candy canes, snowflakes, or stars complete the festive look.
By thinking thematically, you can turn a simple balloon arrangement into an immersive part of your event's atmosphere, making any occasion feel extra special.
Tips for Troubleshooting and Safely Enjoying Your Balloon Party Creations
Creating beautiful balloon decor is a rewarding experience, but it's not always without its challenges. Knowing how to troubleshoot common issues and prioritize safety will ensure your event goes off without a hitch and your creations look their best from start to finish.
Common Balloon Party Challenges and Quick Fixes I Use
Even with the best preparation, you might run into a few issues while creating or displaying your balloon decor. Here are some common problems and my go-to solutions to fix them quickly.
| Challenge | Why It Happens | Quick Fix |
|---|---|---|
| Balloons Randomly Popping | - Over-inflation: The latex is stretched too thin, leaving no room for air to expand, especially in warmer temperatures. - Poor Quality: Cheaper balloons are thinner and have weak spots that are prone to bursting. - Heat and Sunlight: Direct sun exposure causes the gas inside to expand and weakens the latex, leading to pops. - Sharp Objects/Rough Surfaces: Contact with sharp corners, rough walls, or even sharp fingernails can cause a puncture. |
- Under-inflate slightly: Always leave a little give in your balloons. Inflate until they are firm but still have a perfectly round shape, not a pear shape. - Choose quality balloons: Invest in professional-grade balloons, which are thicker and more durable. - Seek shade: Position your decor away from direct sunlight and heat sources whenever possible. - Quick Replace: If a balloon pops in your garland, you can often replace it without taking everything apart. Inflate a new balloon and use the tail of the popped balloon to tie the new one into place. |
| Garland or Arch is Drooping/Sagging | - Weak Structure: The frame might not be sturdy enough, or if using a decorating strip, the balloons may not be packed tightly enough. - Insufficient Anchoring: The garland isn't secured with enough support points, causing it to sag under its own weight. - Warm Temperatures: Heat can cause balloons to soften and the overall structure to lose some rigidity. |
- Create a tighter base: When building your garland, pack the balloons closely on the decorating strip. For columns, wrap the string tightly around each quad. - Add more support: Use more adhesive hooks or tie-off points than you think you need, especially at the highest point of an arch and along its curves. - Add weights: For freestanding structures, ensure you have heavy enough bases (water or sand-filled balloons work well). |
| Garland Looks Gappy or Sparse | - Not enough balloons: The clusters are too loose on the decorating strip or string. - Forgetting the filler balloons: The main structure was built, but the crucial step of adding small 5-inch balloons was skipped. |
- Tighten the base: Step back periodically as you build your garland to check for gaps. If it looks loose, undo the last few balloons and pack them in more tightly. - Add mini clusters: The best fix is to use glue dots to add 5-inch balloons into all the visible gaps. This is the secret to a full, professional look. You can even create small "mini-clusters" of 3-4 small balloons and attach them as one unit. |
| Wrong Colors Pulled for the Job | - Mistake in ordering or packing: It happens! You grab the bag of purple balloons instead of blue. | - Be upfront with the client: If it's for an event, communicate the mistake immediately and discuss solutions. Offering a discount may be appropriate. - Improvise if possible: If the wrong color is only one part of the palette, see if you can create a beautiful design using the remaining correct colors. - Prevention is key: Double-check your balloon colors against your event plan before leaving for the job. Confirming the color palette with the client multiple times can prevent mix-ups. |
| Double-Stuffed Balloons are Hard to Inflate | - Increased pressure: The double layer of latex requires more force to expand. | - Use an electric pump: It's nearly impossible to inflate double-stuffed balloons by mouth. A good quality pump is essential. - Don't separate them: The balloons are meant to be inflated together. Only tie the knot on the inner balloon. |
By anticipating these common issues, you can work more confidently and ensure your balloon decorations remain stunning throughout your entire celebration.
Ensuring Safety with Balloons Around Children and Pets at Your Event
Balloons bring joy and color to any party, but they also require careful supervision, especially when young children and pets are present. The top priority should always be creating a safe environment where everyone can celebrate without risk.
The Choking Hazard: The Biggest Risk
The single most significant danger associated with balloons is suffocation. According to the U.S. Consumer Product Safety Commission, balloons are the leading cause of suffocation deaths among all children's products.
- Uninflated Balloons: Children, particularly those under eight, may suck an uninflated balloon into their mouths while trying to blow it up. This can cause the balloon to be drawn into the throat.
- Broken Balloon Pieces: When a latex balloon pops, it shatters into small, lightweight pieces. These pieces are easily inhaled and can stretch and mold to a child's airway, creating a complete blockage that is extremely difficult to remove. Even common first-aid maneuvers like the Heimlich can be ineffective against a lodged piece of balloon latex.
- Pet Safety: The same choking risks apply to pets, who may chew on or ingest balloon fragments out of curiosity. These pieces can cause serious internal blockages.
Safety Best Practices:
To mitigate these risks, adopt the following safety measures at your event:
- Constant Adult Supervision: Never leave children under the age of 8 unsupervised with balloons, whether they are inflated, uninflated, or broken.
- Immediate Cleanup: As soon as a balloon pops, collect all broken pieces immediately and dispose of them in a secure trash bin, out of reach of children and pets.
- No Chewing or Sucking: Instruct older children not to chew on or suck on balloons.
- Choose Safer Alternatives for Young Children: For parties with very young toddlers, consider using Mylar (foil) balloons as the primary decoration. Foil balloons do not break into small, easily ingestible pieces and are therefore a safer option.
- Proper Disposal: At the end of the party, don't just pop the balloons, which can be startling and scatter fragments. Instead, take scissors and make a small cut near the knot to let the air out slowly and safely.
- Be Aware of Latex Allergies: Natural rubber latex can cause allergic reactions in some individuals, ranging from a mild skin rash to more severe symptoms. If you know a guest has a latex allergy, opt for foil balloons instead.
By treating balloons as decorations that require supervision rather than as toys, you can ensure a fun and safe celebration for everyone.
Making Your DIY Balloon Party Decor Last Longer and Look Fresh
You've spent time and effort creating a beautiful balloon arrangement, so you'll want it to look just as stunning for your guests as it did when you finished. The lifespan of a balloon creation depends heavily on the type of balloons used, the environment, and a few key preparation techniques.
Understanding Balloon Oxidation
The most common issue affecting the appearance of latex balloons is oxidation. This is the natural process where the latex reacts with oxygen and light, causing the balloon's surface to change from a shiny, glossy finish to a soft, cloudy, or velvety matte look.
- What causes it? Exposure to oxygen, UV light from the sun, and heat will speed up oxidation.
- Is it bad? Not necessarily! Many professional decorators love the muted, opaque look of oxidized balloons, as it can create a very chic, modern aesthetic. However, if you want to maintain that classic shiny look, you'll need to take steps to slow the process down.
Tips for a Longer-Lasting, Fresher Look:
Timing is Everything:
- Indoors: Air-filled balloon garlands made with high-quality latex can be created 1-2 days before your event with minimal changes in appearance. Some have even been known to last for weeks!
- Outdoors: The sun and heat are the biggest enemies of balloons. For an outdoor event, it is crucial to assemble your decorations as close to the party's start time as possible—ideally just a few hours before. If you must prepare in advance, inflate the balloons indoors and assemble them on-site.
Proper Storage is Key:
- If you prepare your balloons or garland the day before, store them in a cool, dark, and dry room.
- To further prevent oxidation and deflation, you can place your inflated balloons or even the entire garland inside large, clean plastic bags (like mattress or garbage bags) to protect them from air and light exposure until the event.
Use High-Quality Balloons: Professional-grade balloons are thicker and more durable than those found in discount stores. They hold air longer and are less susceptible to popping, which is especially important for outdoor setups.
Avoid Direct Sunlight and Heat: Whenever possible, position your balloon decor in a shaded area, away from direct sunlight and heat sources like vents or lamps. Dark-colored balloons absorb more heat and are particularly prone to popping in the sun.
Consider a "Balloon Shine" Spray:
- For a super glossy look that lasts, you can use a specially designed spray, often sold as "Balloon Shine" or a similar name. These products coat the latex and act as a sealant, slowing down oxidation and keeping the balloons looking shiny for longer.
- Some decorators use products like HI-FLOAT (a treatment for the inside of helium balloons) on the outside of air-filled balloons to create a protective coating, though this can be messy.
By following these tips, you can prepare your decorations in advance with confidence and ensure they remain a beautiful focal point throughout your entire celebration.
Frequently Asked Questions (FAQ)
1. How far in advance can I make a balloon garland?
For an indoor event, you can safely make an air-filled balloon garland 1-2 days in advance. To keep it looking its best, store it in a cool, dark room, ideally inside large plastic bags to minimize oxidation. For outdoor events, it's best to assemble the garland on the day of the party, as sun and heat will cause the balloons to degrade much faster.
2. How many balloons do I need for a garland?
The number of balloons depends on the desired length and fullness of your garland. A general rule of thumb for a standard organic garland is about 15-20 balloons per foot, using a mix of sizes. For a 10-foot garland, you might need:
- 5-7 large balloons (17"-24")
- 80-100 medium balloons (11"-12")
- 60-80 small balloons (5")
Many DIY kits will provide an estimate based on the length of the included decorating strip.
3. Can I make a balloon arch without a stand?
Absolutely! The most common DIY method involves using a flexible plastic balloon decorating strip. You attach the main balloons to this strip, hang it on a wall or backdrop using adhesive hooks, and then fill in gaps with smaller balloons using glue dots. For a freestanding arch without a wall for support, you can build the arch and then attach weights (like water-filled balloons) to each end to hold it in place.
4. What's the best way to hang a balloon garland?
The safest and most versatile method is to use removable adhesive hooks (such as Command hooks). Place the hooks on the wall in the shape you want your garland to take. Then, use the empty holes on your balloon decorating strip or tie loops of fishing line around the garland to hang it from the hooks. This method provides strong support without damaging your walls.
5. Why do my balloons look cloudy and dull after a while?
This is a natural process called oxidation, where the latex reacts with oxygen and light. It changes the balloon's finish from shiny to a matte, velvety texture. To slow this process, keep your balloons away from direct sunlight and heat, and consider storing them in plastic bags before your event. You can also use a "balloon shine" spray for a longer-lasting glossy finish.
Conclusion
I hope this guide has inspired you to unleash your creativity and dive into the wonderful world of DIY balloon party decor! It's amazing what you can create with a little imagination and a few simple supplies. From elegant color palettes to fun, thematic designs, the possibilities are truly endless.
Remember, every celebration is an opportunity to add a personal touch, and with these techniques, you're well on your way to crafting perfect balloon party decorations that will impress all your guests. Don't be afraid to experiment, mix and match ideas, and most importantly, have fun with the process. Happy decorating

